Backer Board Over Tub Flange
Installing a backer board over a tub flange might appear simple on paper. However, the complexity of this endeavor becomes apparent once you start working.
Every do-it-yourself enthusiast has their own method, which makes reading through home improvement forums even more confusing.
I’ve chosen to provide a thorough tutorial on how to place a backer board over a tub flange in order to ease your workload.
Expert contractors advise using this approach, and you won’t experience any issues down the road.
Is the backer board supposed to go underneath or over the tub flange?
First, let’s clear up any misconception regarding tub flange installation locations for backer boards.
According to some, the backer board ought to be positioned behind the tub flange. However, installing it over the tub flange is the most effective way.
A tub lip’s function is to keep water from flowing beyond the tub. As a result, installing the backer board behind it would prevent the flange from performing its function.
However, the likelihood of water splashing behind the tub is reduced when the backer board is positioned over the flange.
The tub is frequently installed first, followed by the backer board in all professional tub installation operations.
This method is used to make sure the backer board is positioned just above the tub lip, over the flange. Do you now see why the tub flange must be covered by the backer board?
How Can a Backer Board Be Installed Over a Tub Flange?
The next steps will be simple once you know why the backer board should cross the tub flange.
-
Step 1: Place the Tub in the Suggested Location
Although it would be tempting to place the backer board first, I’ve already discussed the advantages of placing the tub first.
Follow the manufacturer’s instructions to ensure a flawless installation of your tub in your shower, depending on its kind.
-
Step 2: Encircle the tub’s flange with a moisture barrier.
Cement boards and other backer boards are highly permeable. Please wrap a moisture barrier behind the tub to ensure your setup is as waterproof as possible.
This region surrounds the flange. As long as it works, you can use any type of moisture barrier.
-
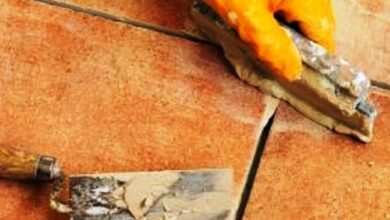
Step 3: Cut the backer board and fit it.
Make sure the backer board extends above the tub’s lip before cutting it. The gap need to be as narrow as feasible. Greater disparities are a surefire way to fail.
It will be difficult to put tiles around the tub if the backer board is positioned a few inches above the flange.
Additionally, there won’t be any structurally sound transition material there. Make sure the backer board is screwed into the frame securely.
-
Step 4: Seal the Area Between the Tub Lip and Backer Board
The next step is to apply silicone sealant between the tub lip and the backer board. To prevent water from leaking past the flange and backer board, this opening needs to be completely sealed.
You won’t have to worry about water damage for the remainder of your time in that house after you tile over the backer board.
To guarantee that there is as little passage for moisture or water as possible, please apply a large amount of sealant.
Which Backer Board Type Is Best for Over Tub Flange?
The ideal kind of backer board to install over a tub flange is one crucial component that you must consider. The tub is frequently subjected to high levels of moisture and water.
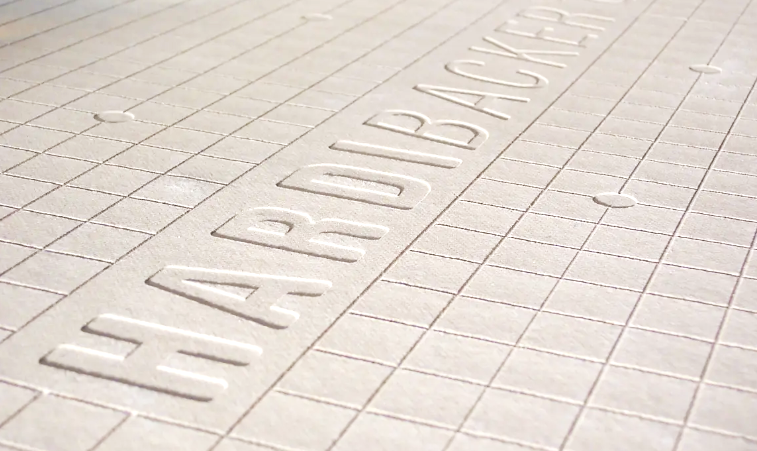
Consequently, cement board is the ideal kind of backer board for tub flanges. Despite being porous, cement board is extremely durable and water resistant.
It won’t decay even if you wet it in water every day. Your bathroom will be safe against water damage as long as there is a moisture barrier in place.
Additionally, cement backer board is a good tile substrate, which is why it is used over the tub flange. Cement board is a good surface for tiles.
Due to their lack of moisture resistance, other backer board types, such as gypsum board, are not recommended for use around tub flanges.
Furthermore, they lack the strength of cement boards. These other kinds of backer boards can sustain a significant dent from even a small amount of impact exposure.
How Come Backer Board Is Better Than a Tub Flange?
First of all, most building rules demand backer board, which is the recommended wall material in high-humidity locations like bathrooms and showers.
Additionally, a backer board provides a sturdy platform on which to lay tiles around your tub flange. There would be nothing to attach tiles to if there was no backer board.
Additionally, backer boards, when combined with a moisture barrier, keep moisture from seeping into the space below the tub flange and causing damage to other components, such as wall frames and studs.
Most significantly, a backer board improves your bathtub’s overall appearance.
Avoid these common mistakes while installing the backer board over the tub flange.
I promise that everything will go smoothly if you follow my instructions.
Nonetheless, I usually advise my readers to get aware with the typical errors that individuals make when mounting a backer board over a tub flange. This raises the likelihood that your project will succeed and helps you prevent such errors.
Here are a few of the errors you should be aware of:
- Leaving a large space between the tub flange and the backer board Three major issues result from doing this. It will be difficult for you to fill that gap first. Making a sturdy surface on which to place tile will also be difficult. Lastly, get ready to handle moisture damage.
- Installing the backer board behind the tub flange will make it impossible to stop water from flowing behind the tub unless you are an experienced tiler or plumber. Installing the backer board over the tub flange, as I instructed, is the best course of action.
- Not enclosing the backer board with a moisture-resistant barrier: Most individuals overlook the fact that cement board is water-resistant but not waterproof. If there is no barrier, some moisture will seep through and reach the frame inside your walls.
- Neglecting to apply sealant: A high-quality silicone sealer needs to be applied to all seams, gaps, and crevices. There is no other way to guarantee waterproof seams.
- Tiling right after sealant application: Rushing any step of the aforementioned procedure might have disastrous results and result in costly failures. Before continuing, take your time to make sure everything dries in time. The majority of sealants take less than an hour to cure.
Should Backer Board Be Installed Over a Tub Flange by a Professional?
I would suggest hiring a skilled contractor to place a backer board over a tub flange if you hadn’t come across this review. But in this review, I’ve covered everything you need to know.
Therefore, I think you can do this assignment on your own. You will have to spend more money on hiring a contractor than you could have on other home improvement jobs.
Simply follow my instructions, being careful to steer clear of the typical blunders that were previously described.