Tile to Ceiling Trim
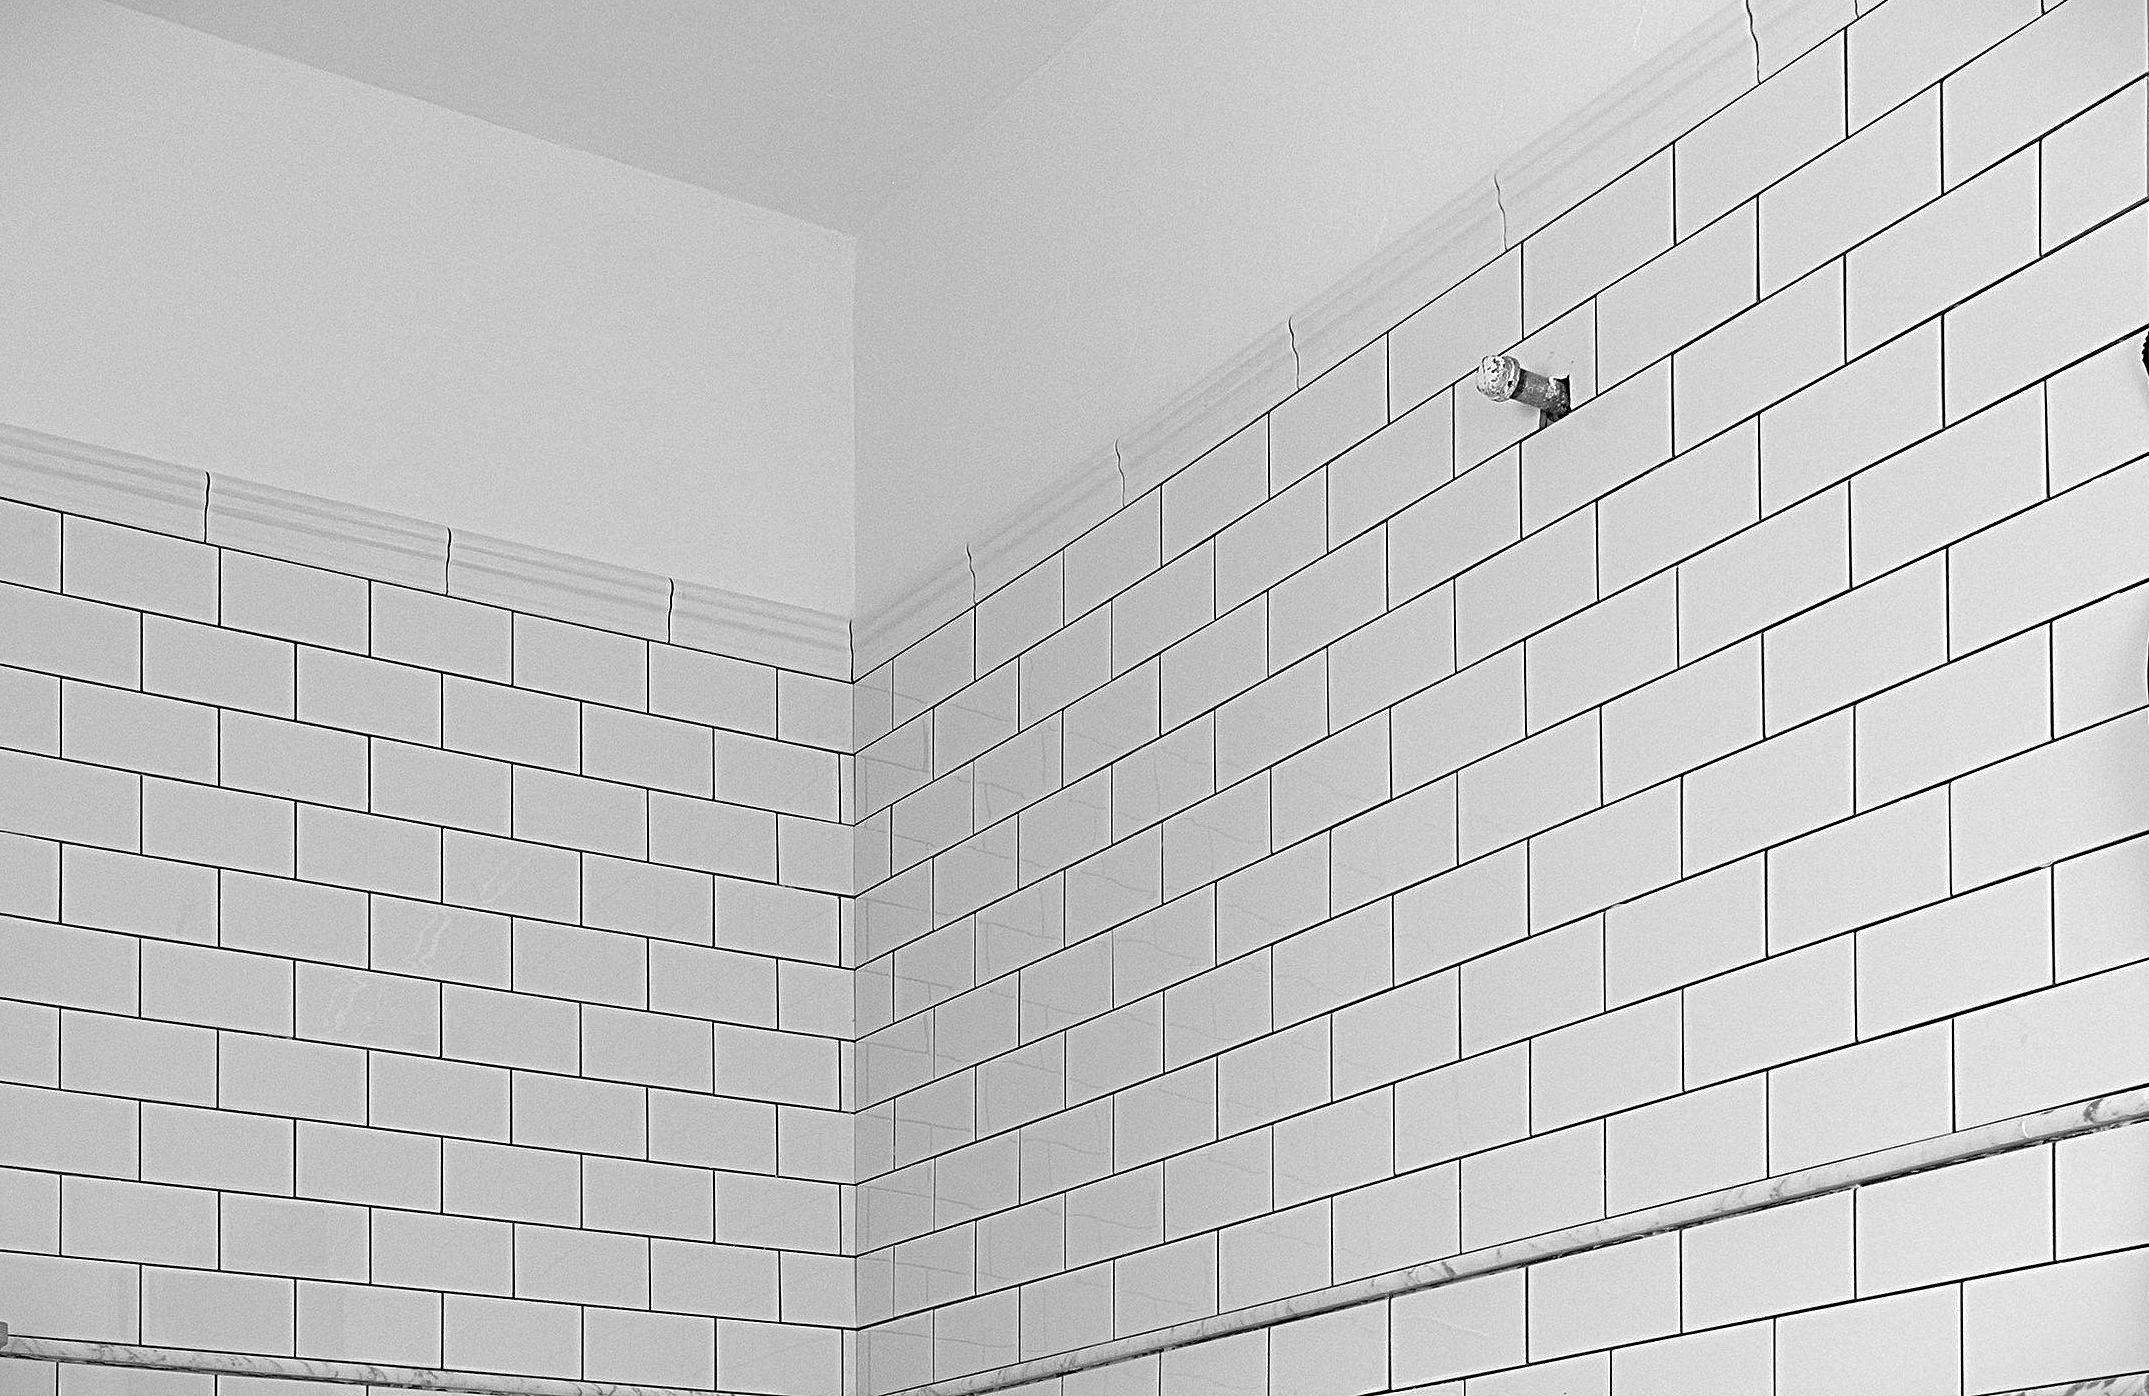
You might be interested in tiling your entire ceiling for a variety of reasons. Because it gives the impression that the space is larger, this style is most frequently found in bathrooms.
Remember that tiles are also the preferred material for damp areas because they are simple to maintain. Regardless of your motivation for tiling the ceiling, one challenge you can encounter is producing a seamless tile-to-ceiling trim.
There is typically a space left between these two sections in the majority of tile-to-ceiling projects. Some might rather overlook this disparity.
However, there are a number of techniques to create a smooth transition between tiles and ceilings if you want the ideal finish in your bathroom.
How Can a Tile-to-Ceiling Trim Be Made?
I’ll walk you through three different ways to make a tile-to-ceiling trim below. Every technique has its advantages. You will have to decide which one looks most suited to your setup.
1. Applying Caulk using Silicone
The simplest and fastest way to create a seamless tile-to-ceiling trim is this one. Two items are required to pull it off: silicone caulk and masking tape. You are welcome to select one of these two items from your preferred brand.
Begin by scrubbing the tile’s edge. There can be paint spots on the nearby tiles if the ceiling has just been painted.
After removing these stains, cover the tiles with masking tape. You may apply the silicone caulk consistently in a straight line by using masking tape. It’s crucial. To construct a tile-to-ceiling trim, apply the tape to the desired region.
Spread your favorite silicone caulk between the tile and the space in your ceiling. Make sure the gap is completely covered by applying as much as you can.
Run your index finger through the silicone caulk once you’re finished. Your tile and ceiling trim will be smoother as a result.
After you’re finished, take off the tape to see a flawless ceiling-to-tile transition. You can either paint this section or leave it unpainted. It is all up to you.
2. Making Use of a Tile Cutting Device
This procedure is a little more time-consuming and exhausting than the one mentioned previously. However, you can be sure that the tile-to-ceiling trim will look good.
To begin, you must determine the wall’s height and the number of tile pieces that will be employed. This will allow you to approximate the amount of space that will remain between the ceiling and the tile.
Using this information, determine whether the ceiling is level on all sides before cutting your tiles to the proper height.
You must use an eight-inch smaller measurement when cutting tile to install in the gap. More space will be available for caulk, grout, or adhesives as a result.
Fitting the cut between the tile and ceiling could be difficult if you choose a size greater. Accurate measurements are crucial for this technique.
After applying adhesive, place the cut tile in the opening. As with any tile installation project, add grout. Let it dry completely before caulking the cut tile on both sides.
Because tiles and ceilings move in various ways, this encourages flexibility and adherence of the cut tile. That’s it.
3. Applying Trim Molding Made of Vinyl
Vinyl trim moldings are the second most common way to create tile-to-ceiling trims.
These moldings come in a variety of finishes and may be purchased at your preferred hardware stores. As a result, you have a lot of flexibility in terms of the finishes you can use in the space between tiles and ceilings.
However, if you intend to install trim moldings in a high-moisture area, like a shower, you should use vinyl or PVC.
Certain wood trim moldings are prone to decay or encourage the growth of mold. Vinyl is therefore the ideal option.
You must measure and cut the vinyl trim molding to the proper size before you can put it between the tile and the ceiling. After applying silicone caulk to the gap, replace the vinyl trim molding. That’s how simple it is.
If the space between the tile and the ceiling is too large, installing vinyl trim moldings could be your biggest problem.
or if there is an uneven ceiling. However, most ceilings are installed at the same height, and the gap is usually modest.
4. Making Use of a Bullnose Tile
The purpose of bullnose tiles is not limited to edges. However, tile-to-ceiling trim can also be made using them. For those of you who are unfamiliar with this kind of tile, it is typically used in corners or frames and has a circular edge.
You will need to order a bullnose tile when you purchase the tiles if you want to use it for your tile-to-ceiling trim. This guarantees that the option you choose will blend in or match your current tiles.
You must take accurate measurements when installing bullnose tiles as tile-to-ceiling trims. Purchasing a bullnose tile with a single rounded edge is also advised. When transitioning from tile to ceiling, those with double edges might not appear as attractive.
The installation process is really simple. After applying adhesive, place the tile and grout over it.
Which Material Is Best for a Tile to Ceiling Trim?
From a professional perspective, tile is the best material to employ to make a tile-to-ceiling transition, though this greatly relies on personal preferences.
We’re referring about the tile you have on your walls, not some other kind. From tile to ceiling, this transition produces a consistent finish.
Consequently, you could create a smooth tile-to-ceiling transition if you could obtain a tile-cutting machine. The bullnose tile is the second-best choice.
Vinyl trim molding and silicone caulk are easy ways to close a gap between tiles and ceilings. They wouldn’t look bad, mind you. However, they don’t look as well as the two above.
Is Finishing Required Where Tile and Ceiling Meet?
Some property owners do not believe that installing a tile-to-ceiling transition is necessary. However, any knowledgeable contractor will tell you about the advantages of finishing where the tile and ceiling meet.
Even while the gap left by installing tile to the ceiling might not seem like much, it can seriously detract from the overall beauty of your room.
If at all possible, you should work on a tile-to-ceiling transition because of the aforementioned reasons. This will guarantee that the ceiling and your tiles have a consistent finish. You should be able to discover a trim that suits your preferences because there are so many ways to create the ideal trim.
Is it possible to use grout as a ceiling trim tile?
Not at all. Although grout is excellent for filling up spaces between tiles, it shouldn’t be used to connect tiles to the ceiling.
Grout will eventually fracture and fall off because the space between tiles and ceilings is frequently too large. Use silicone caulk if you need a quick fix. It is more flexible and stronger.