Seamless Shiplap to Tile Transition

At first, exterior sidings were constructed using shiplap. But lately, a lot of homeowners have started using this wooden board inside.
This is due to its stunning appearance, versatility, and—best of all—it’s among the most reasonably priced interior finish materials.
Despite its relative ease of installation, there is one potential snag when installing shiplap on your walls: switching from shiplap to tiles. Since tile is a common interior finish material, such a situation is not uncommon.
In this article, I’ll show you how to make a smooth transition from shiplap to tile if you’re installing shiplap in a section of your house where it meets tile. I’ll also outline some typical roadblocks you might run across and how to get around them.
How Can Shiplap Be Converted to Tile?
You can switch from tile to shiplap in two primary ways. Between these two fabrics, you can either utilize a trim piece. Alternatively, shiplap can be joined straight to tile.
In order to help you better grasp each process, I will go over both choices.
- A Caulk-Based Direct Tile to Shiplap Transition
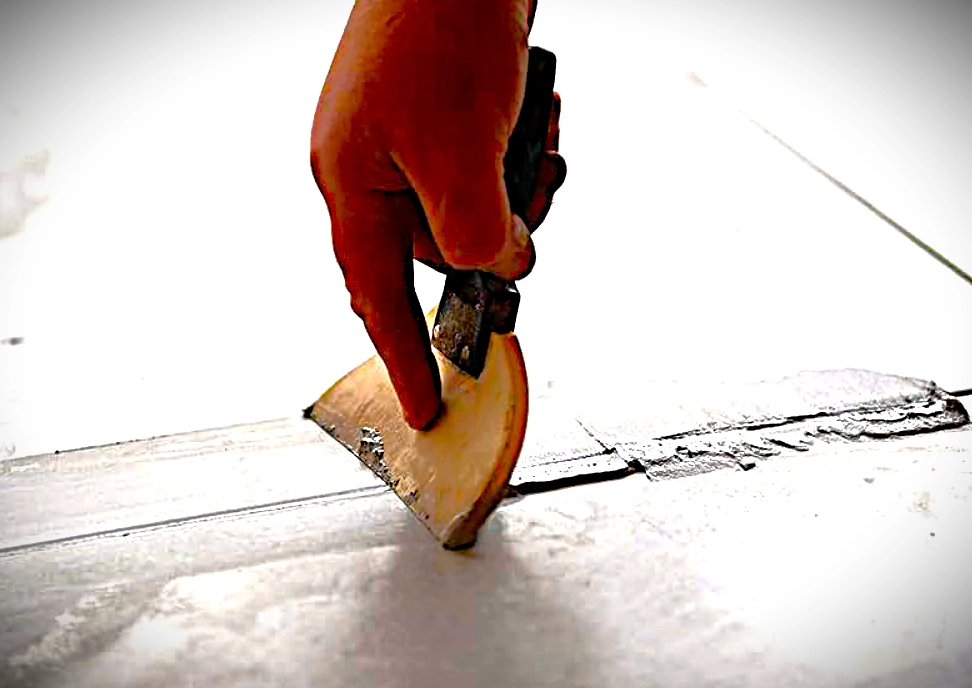
Since you don’t need any extra supplies, this is the simplest technique. You will need to pay close attention to the measurements if you want to produce a direct tile to shiplap transition.
First, make sure the tiles and shiplap are flush with one other. A situation where the shiplap is sticking out over the surface is not what you want.
Proceed with the shiplap installation. When you get to the point where tile and shiplap meet, start placing the tile from the opposite side or below. Use a tile adhesive that is sturdy.
You must work in a straight line to achieve a seamless tile-to-shiplap transition. To ensure that the tile fits precisely beneath or next to the shiplap, I advise you to begin putting it first.
Given that tile and shiplap are both rectangular in shape, this shouldn’t be too much of an issue. As a result, making a smooth transition should be simple. When executed well, this transition frequently appears distinctive and smooth.
The tile and the shiplap will be separated by a space. You can use caulk to hide it. In addition to bridging the space between tile and shiplap, caulk facilitates a seamless transition.
- Placing a Trim Piece in Between the Shiplap and Tile
Using a trim piece is the alternative technique for creating a tile to shiplap transition. This trim piece can be a hardwood strip, a bullnose tile, a quarter-round molding, or a J-Channel.
After selecting the perfect trim piece from the list above, install it between the tile and shiplap joints to achieve this transition.
Depending on your design, a trim piece may run horizontally or vertically. But, much like with a straight tile-to-shiplap transition, you must make sure it’s straight. It won’t look good if it’s crooked.
Because it divides these two materials, a trim piece produces a distinctive tile-to-shiplap transition. Consequently, it highlights your tile and shiplap design.
One benefit of building such a transition using a trim piece is that you may paint or finish it anyway you choose.
Additionally, you can select a material that appeals to you. These trimmings come in a variety of materials, including PVC, metal, and wood.
What Difficulties Come with Making a Transition from Tile to Shiplap?
Both shiplap and tile are simple to install. It’s not always easy to create a smooth transition between these two materials, though. The following are some potential roadblocks and strategies to circumvent them:
1. Not flush with the tiles, the shiplap
There is a significant probability that shiplap and tiles won’t sit flat with one another due to their different thicknesses. The shiplap can wind up sticking out a few inches from the wall, and vice versa.
However, with adequate planning, this issue is easily preventable. Prior to installation, you must be aware of each material’s thickness.
so that there is sufficient space for the tiles and shiplap to sit flush when you install a cement backer board or nail the shiplap.
Particularly if the transition is straight, the tile-to-shiplap transition needs to be even. You should choose a trim piece joint if you find that these materials aren’t sitting flush.
2. Combining Different Finishes
The finishes of tile and shiplap differ, as you may already be aware. Tiles are composed of asphalt, glass, and ceramic, while shiplap is composed of wood.
It could be a little challenging to get these two materials to merge together visually. Tile-to-shiplap transitions typically only work when both surfaces are painted white.
It could be difficult to achieve a pleasing finish and transition if you’re interested in a different color.
Is It Wise to Construct a Bathroom Transition from Shiplap to Tile?
High levels of moisture are bad for wood. For this reason, the majority of people are hesitant to design shiplap-to-tile transitions in bathrooms.
Please be aware that if the shower surround is tiled and the shiplap is a little farther away, it is possible to make a shiplap-to-tile transition in a bathroom.
When shiplap is regularly exposed to water, it will bloat and deteriorate. As a result, it must be placed somewhat farther away from the shower surround.
Use vinyl trim pieces to create a transition between tile and shiplap. They are far more resilient to water damage than metal or wood. Another great option for preventing moisture damage is bullnose tiles.
Applying a mold-resistant coating is one additional safety safeguard you may take when constructing a shiplap to tile transition. This can be really helpful.
As an alternative, you can choose PVC shiplap, which is thought to be the greatest kind for bathrooms and other high-moisture locations because it is mold and moisture resistant. Additionally, it’s lightweight, which makes installation very simple.
Does Shiplap Need to Be Glued to Tile?
When making a transition, tile does not have to be adhered to shiplap. Your transition will be flawless as long as the shiplap is firmly screwed to the walls and the tiles are glued in place. You might simply need caulk to seal the gaps; glue is not necessary.
When constructing a transition from tile to shiplap, which material should be installed first?
It could be tempting to begin with tiles before moving on to Shiplap. But always begin with a shiplap if you want a seamless transition between these materials.
You can achieve a more seamless and leveled transition by beginning with shiplap. When you begin with tiles, this will be difficult to achieve.
Does a Tile-to-Shiplap Transition Require the Services of an Experienced Contractor?
You don’t need to pay a professional contractor to construct a transition for you if you know how to install shiplap and lay tile.
This procedure ought to be rather easy if you follow the instructions I gave you above. Simply select the transition type you want to apply and adhere to the guidelines.