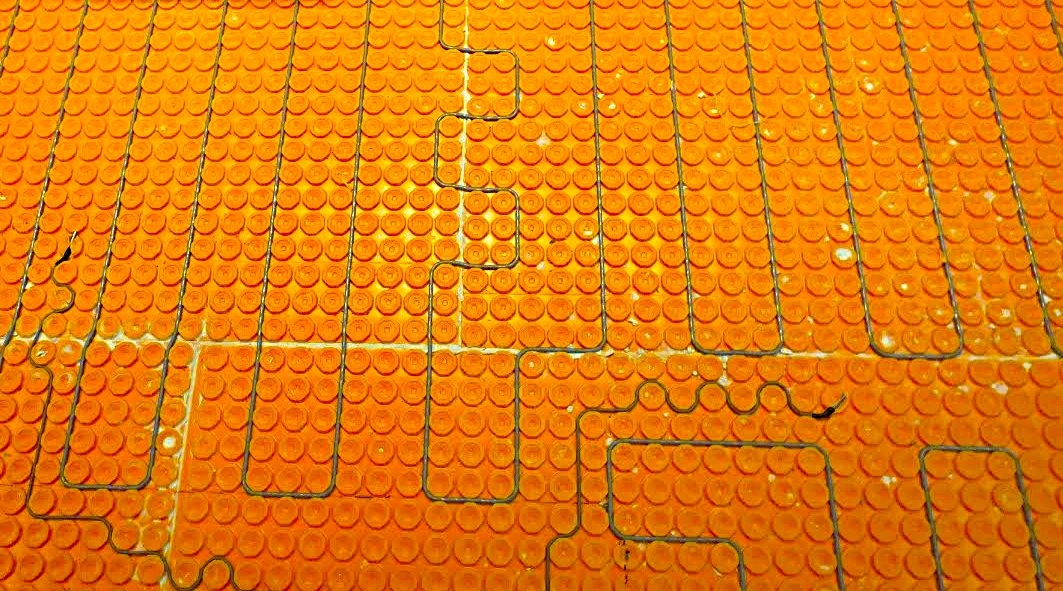
Ring Shank Nails for Subfloor Installations
There are numerous varieties of nails. Professionals and do-it-yourselfers alike frequently choose ring shank nails.
Ring shank nails, in contrast to ordinary nails, have rings or threads that are difficult to remove. Ring shank nails ensure a strong bond that won’t come loose because of its design.
Applications for ring shank nails include siding, decking, and roofing. However, are ring shank nails suitable for subfloors? We’ll learn more about that in today’s article.
Ring Shank Nails: Why Pick Them for Subfloors?
When building a subfloor, ring shank nails are obviously an option. This shank nail’s rings offer superior holding power and additional grip.
Consequently, a tighter subfloor is assured. You’ll see that ring shank nails were used to install the majority of subfloors.
Because it guarantees that the subfloor won’t wiggle or loosen over time, this kind of nail is a common choice for subfloor installation.
Ring Shank Nails’ Benefits and Drawbacks for Subflooring
Here is a brief summary of the benefits and drawbacks of utilizing ring shank nails to help you decide if they are the best choice for subfloor installation.
Advantages
- Compared to other shank nail kinds, ring shank nails have a stronger gripping capacity over subfloors.
- Ring shank nails won’t break loose or back out once they’re put on subfloors. The ring design is to blame for that.
- Ring shank nails are more resilient to withdrawal forces, which are frequently encountered in subfloors with heavy traffic.
- Ring shank nails guarantee that the subfloors are securely fastened and do not slide or creak.
- For individuals on a tight budget installing subfloors, this kind of nail is a more cost-effective option.
- When installing subfloors, ring shank nails are also among the fastest fastening choices.
Drawbacks
- The inability to remove ring shank nails from subfloors is the main disadvantage. Repairs may become somewhat overwhelming as a result.
- Ring shank nails are notorious to splinter wood, so use caution when putting them on subfloors.
- Additionally, be sure the nail gun you intend to use is compatible with this type of shank nail if you do decide to use it.
Choosing the Best Subfloor Ring Shank Nails
Although the design of all ring shank nails is the same, different kinds are created from different materials.
Steel and stainless steel are the two most popular varieties of ring shank nails. These are perfect for installing subfloors and are incredibly resilient.
Additionally, we offer galvanized, copper, or aluminum rig shank nails that are resistant to corrosion. These are ideal for outdoor settings where corrosion is more likely to occur.
I also discovered a cross between ring-shank and smooth nails a while ago. Usually, these provide the best of both worlds.
The Best Lengths and Sizes for Subfloor Ring Shank Nails
8D ring shank nails, which are 2.5 inches long, are the recommended choice for the majority of subfloor installations. For subfloors, that is the ideal shank nail length.
Please be aware, though, that longer shank nails will be required if the flooring is thicker. Your floor may become loose and squeaky if you choose a shank nail that is too short.
Additionally, selecting a longer nail may harm the subfloor’s underlying material. The gauge number for nail diameter typically falls between 8 and 12, with 12 being the thickest.
Other considerations, like joist space and local building standards, must be made when determining the length and size of ring shank nails.
Additionally, make sure the ring shank nails work with the nail gun you want to use.
- Step 1: Assemble Necessary Equipment for Professional Ring Shank Nail Installation in Subfloors
You’ll need some ring-shank nails to complete this task. Make sure the length and type you want are available.
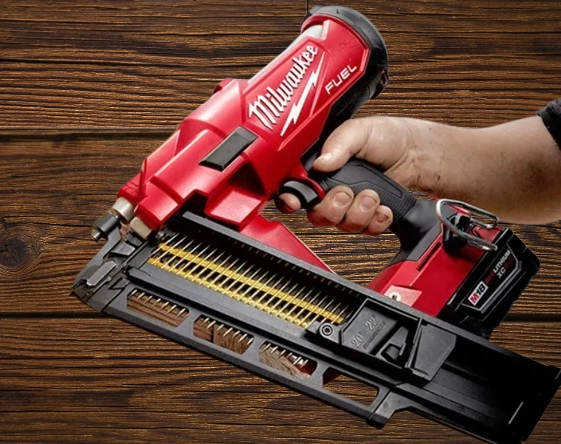
Additionally, you will require a nail gun or hammer. The latter is more user-friendly and secure. Additionally, you ought to purchase goggles, gloves, and other protective equipment.
- Step 2: Get the subfloor ready
Start by making sure the subfloor is fastened to the joists and positioned appropriately. Ring shank nails are difficult to remove, so you don’t want to do them incorrectly.
- Step 3: Insert Ring Shank Nails into the nail gun.
Different nail guns work in different ways. The majority of them, though, often call for loading the nails onto a magazine. Go ahead and do it.
- Step 4: Get the Subfloor Nails in Place
Everything is fairly simple from there. Get the ring shank nails hammered into the subfloor. Starting from the margins is always a solid rule of thumb. Make sure the nails are at least seven inches apart.
After finishing the edges with nails, move on to the field. The separation should be significantly greater this time, ideally between 11 and 13 inches.
It’s crucial to avoid driving the nails too far into the subfloor. The majority of individuals believe that this increases the subfloor’s security. However, it can do serious harm.
- Step 5: Examine the Nail Subfloor to Complete
After finishing, you can quickly examine the subfloor to look for any loose nails or improper spacing. Make sure the subfloor is securely fastened to the joists to complete the installation.
Using Ring Shank Nails to Fix Typical Subfloor Problems
When it comes to subfloor installations, ring shank nails are intended to solve the following issues:
- Backing out: Ring shank nails generate some friction with wood, preventing the aforementioned issue, in contrast to smooth shank nails, which back out of subfloors readily.
- Squeaky floors: Ring shank nails are more efficient than regular nails at reducing floor motions.
- Withdrawal forces: These forces are frequently applied to nails by factors like high loads or traffic on subfloors. However, ring shank nails are very resistant to these kinds of pressures.
- Loose grip: It might be challenging to penetrate certain subfloors, particularly hardwood ones. However, ring shank nails firmly pierce these materials and won’t come free with time.
Things to Think About When Applying Ring Shank Nails to Subfloors
Despite ring shank nails’ numerous advantages, there are a few things that could go wrong if you use them on subfloors. Among these problems are:
- To begin with, ring shank nails are not inexpensive. Therefore, you might need to utilize something else if you’re putting a subfloor on a tight budget.
- Removing ring shank nails is difficult. Repairs will therefore be quite difficult.
- Wood can be damaged or split by ring shank nails, particularly if they are nailed close to the edges.
- It’s also crucial to remember that not all nail guns work with ring shank nails.
Screws vs. Ring Shank Nails: The Subfloor Argument
Selecting between ring shank nails and screws is one of the most important choices you will have to make while constructing a subfloor. Screwing is much slower than nailing. However, the latter has superior holding strength.
Shank nails’ ring configuration guarantees a tighter subfloor, but screws are more secure since they can grasp a greater surface area. Therefore, you won’t have to be concerned about any movements or squeaks.
In conclusion, ring shank nails work well for subfloors. Screws, however, are far superior.
Ring Shank Nails’ Various Applications Outside of Subfloors
Subfloor installation is not the only application for ring shank nails. They are multipurpose fasteners that can be used for a variety of purposes, including
- Fastening the wall frame
- Fastening sheathing to the frame
- Deck boards being fastened to joists
- Putting siding on walls
- Protecting roofing supplies
- Constructing fences
- Building cabinets out of wood