Herringbone Tile Problems
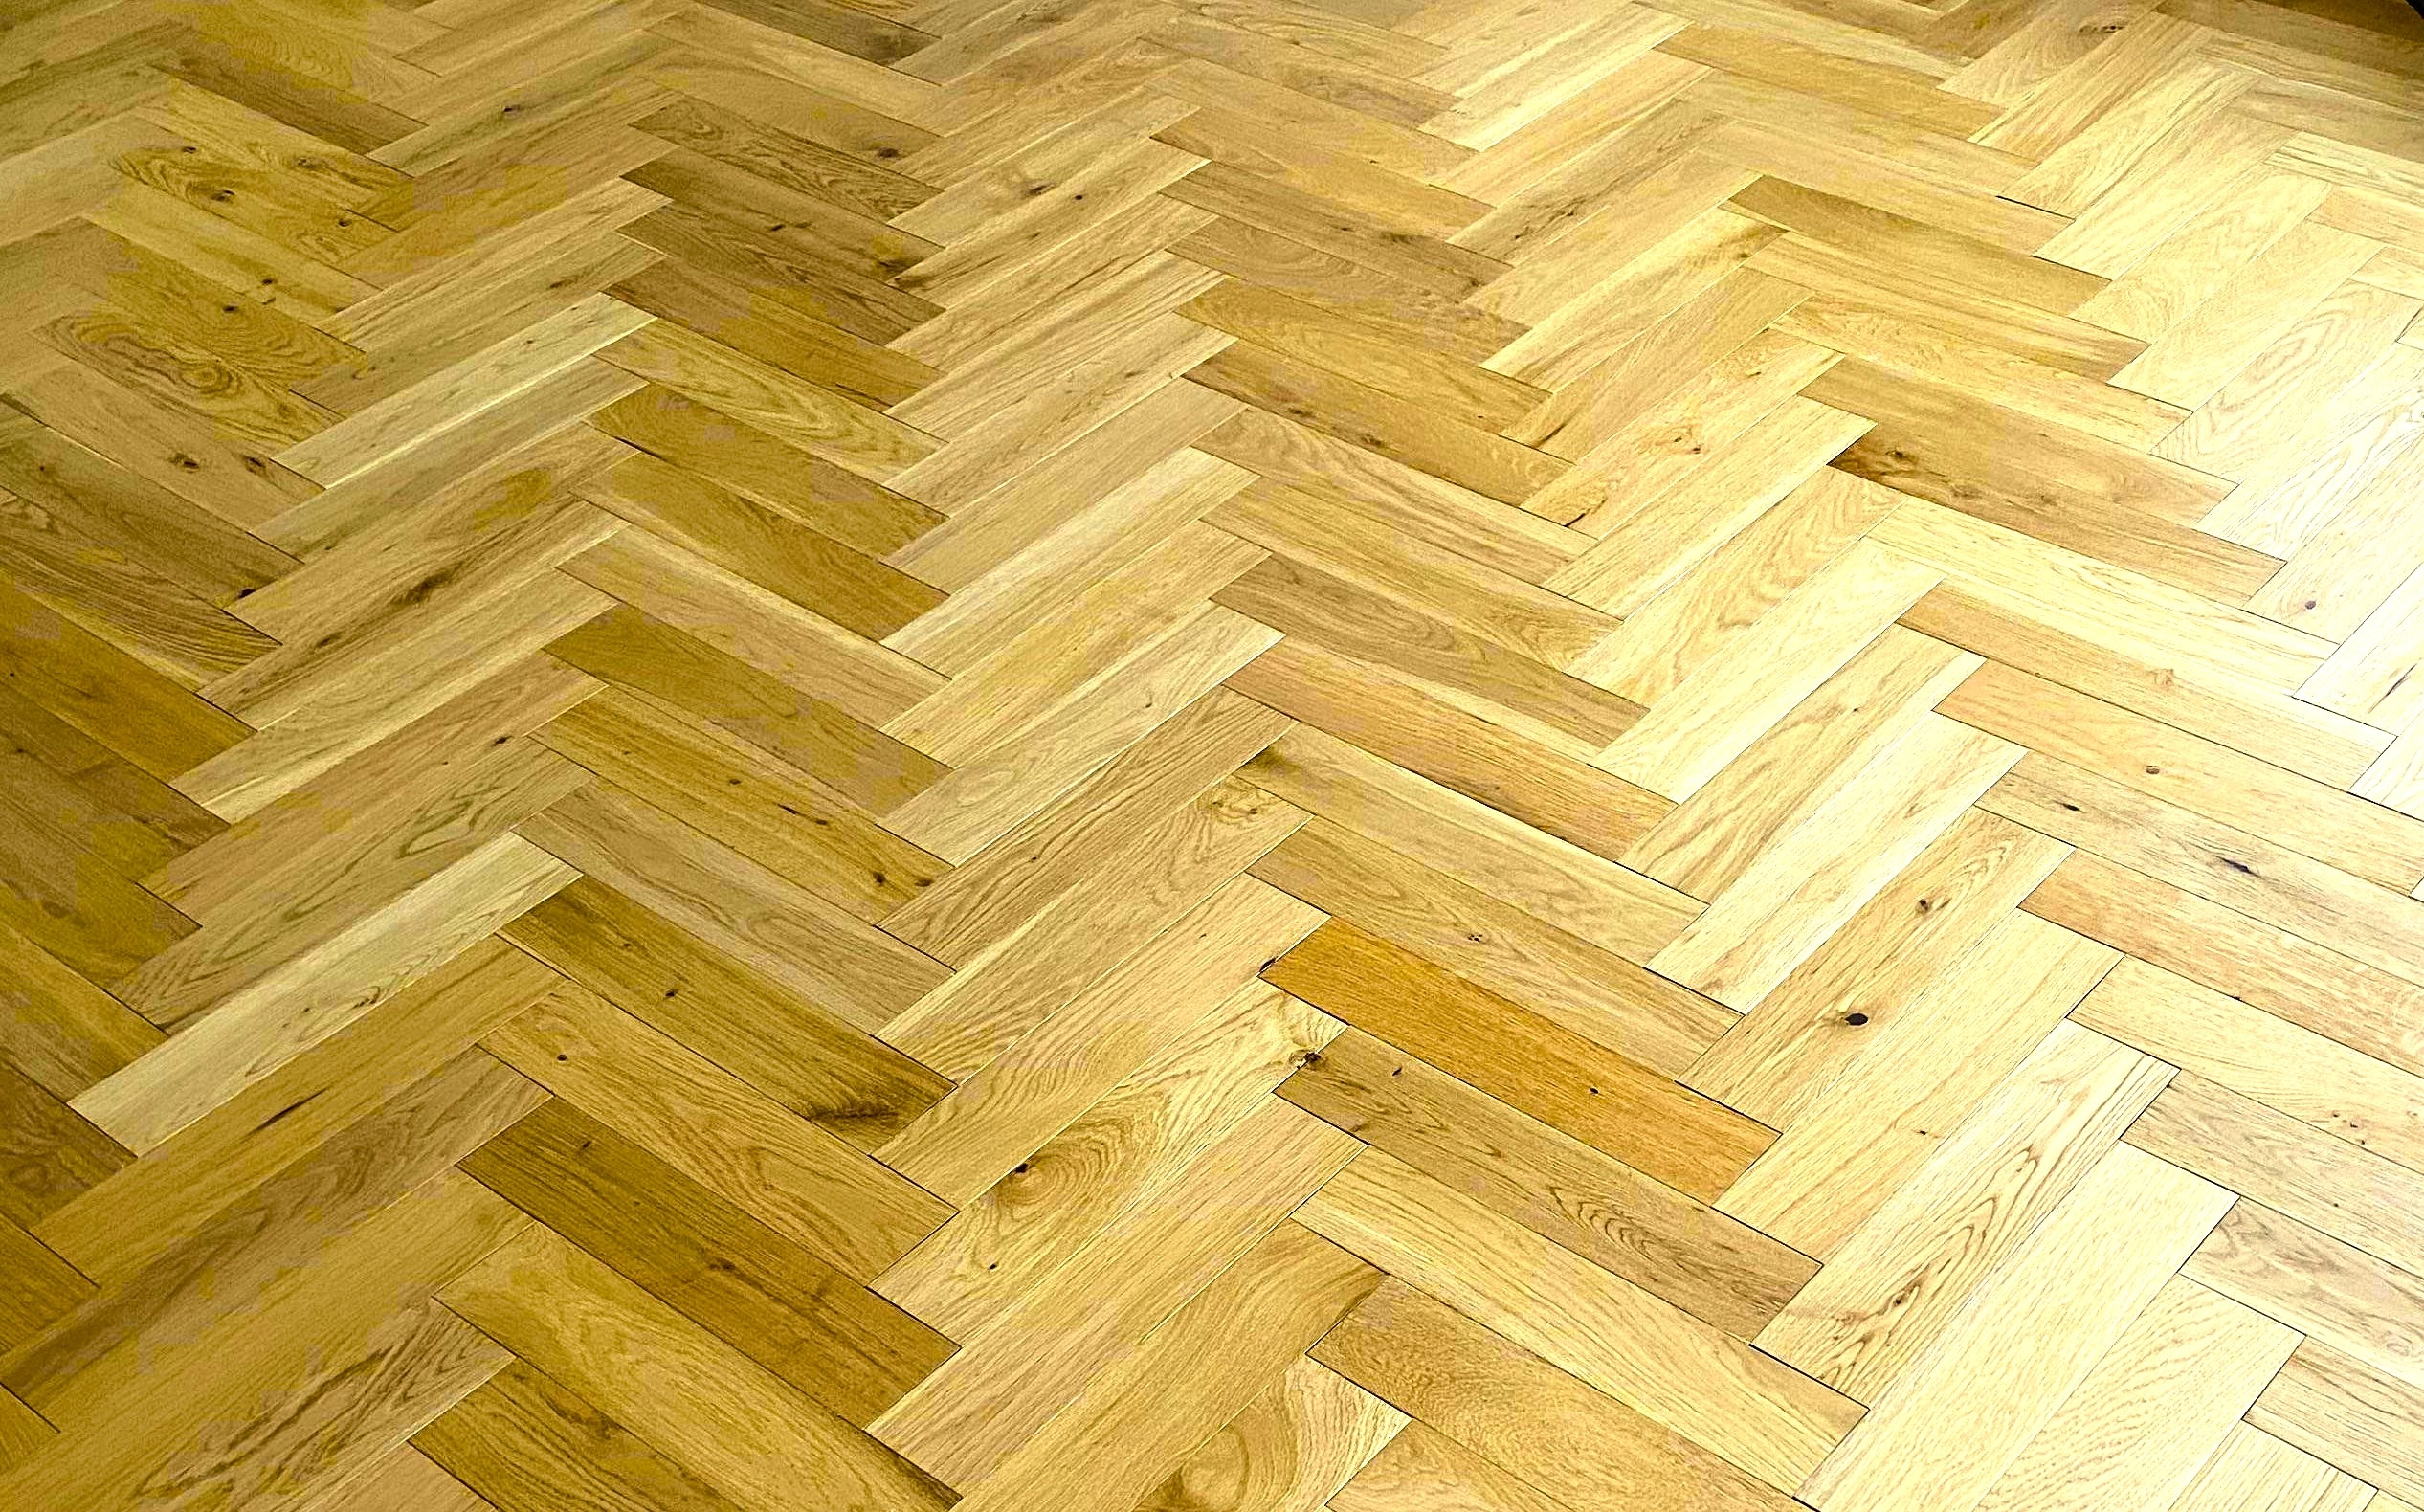
The herringbone tile, which takes its name from the skeletal pattern of a herring fish, is a timeless and distinctive design. This pattern of tiles has endured over time. Its popularity hasn’t decreased since the 17th century.
Rectangular tile pieces are installed in a zigzag pattern as part of this design. Because two adjacent rectangular tiles form a 45-degree angle, herringbone tiles appear to be an arrow from a distance.
Herringbone tiles are popular among property owners. These tiles aren’t the simplest to install, though, due to their intricate pattern.
The topic of this essay will be the couple of issues that are related to herringbone tiles. You may produce a perfect herringbone tiling pattern by being aware of these important factors.
1. Uneven Lines
When it comes to herringbone tiles, this is by far the most difficult problem customers encounter. It will be difficult to acquire an exact alignment with this tile design unless you are a really talented tiler.
Using a laser level or a chalk line is the best way to fix uneven lines in herringbone tiles. During the preparation phase, these two items are useful since they assist you in drawing a line of reference for the herringbone tile laying process.
Dry-fitting the tiles prior to installation is another method for addressing crooked lines. This will show you how accurate the tile placement appears. This is a herringbone tile issue that is readily preventable with careful design and preparation.
2. Wastage of Tiles
It takes a lot of tile cutting to get the herringbone pattern. You might waste a lot of tiles if you’re not interested, which would raise the project’s cost.
A tile cutter is an essential equipment for herringbone tiles, even though you might not require one for other simple tasks.
Your herringbone tiles will be cut precisely to the specified measurements if you use a tile cutter. As a result, you will reduce tile waste and your project’s expenses.
3. Inequality Between Neighboring Tiles
You could observe that adjacent tiles are not even as you fit the tiles at a 45-degree angle. When you don’t utilize a laser leveler, this issue will arise. Leveling herringbone tiles is necessary.
Unevenness can only be overcome in this way. Get a leveler and mark the wall where you want to place the tiles and how the neighboring ones will fit at your desired angle before you install these tiles.
4. Dirt Buildup on the Grout Lines
All tiles, including those with the herringbone pattern, are impacted by this general issue. Dirt and stains will eventually make their way to your grout lines. If that occurs, a grout cleaner and a soft brush should be useful for removing grime. Additionally, to guarantee that your herringbone tiles always appear perfect, try applying a grout sealant on occasion.
Are Herringbone Tiles Hard to Install?
It’s not hard, in my opinion. The installation of herringbone tiles is appropriately described as challenging. Installing herringbone tiles is difficult because of the pattern of this tile style.
However, you should be able to construct a perfect design if you do careful planning, which involves using a tile cutter to reduce waste and a laser leveler to mark where to put the tiles.
Herringbone tile installation should be simpler for you if you have completed a few tiling projects in the past. However, it could take multiple tries to get it properly if you are a complete novice.
Fortunately, there are many of skilled tile contractors available to complete this task for you. Do not be afraid to contact a contractor who is experienced with herringbone tile patterns if you are unsure of your own abilities.
What Benefits Do Herringbone Tiles Offer?
Given that I have outlined the primary issues with herringbone tiles, it is only fitting that I also enumerate some of its advantages.
After all, herringbone tiles wouldn’t be as common today if they were completely troublesome. The following are some benefits of herringbone tile installation:
- The majority of people are accustomed to standard tiles, thus they have a distinctive visual appeal. The herringbone pattern, however, can greatly improve the room’s appearance if you employ it. The zigzag pattern makes herringbone tiles appear fantastic.
- Your spaces are opened up by herringbone tiles. Because it gives the impression of more space, this design is frequently seen in bathrooms and tiny kitchens.
- Additionally, this pattern draws attention to a focus point. As I previously stated, herringbone tiles have an arrow-like appearance. They can direct a room’s design toward a specific focal point if placed carefully.
- Herringbone tiles are a classic design—did you know that they were first used in the 17th century? The Romans built highways using this pattern. It is still well-liked four centuries later. This is sufficient evidence of the classic appeal of herringbone tiles.
- Herringbone tiles aren’t just perfect for bathroom walls; you can use this design wherever. This design can be used around the fireplace or as your backsplash. All kinds of tiles can benefit from the adaptability of herringbone tiles.
Alternatives to Herringbone Tile
You might want to look into alternative tile patterns and layouts because of the issues mentioned above with herringbone tiles. Thankfully, there are plenty of herringbone tile substitutes that have a similar appearance.
Additionally, compared to the herringbone design, some of these patterns are far simpler to install and have fewer issues. Take a look at these excellent substitutes for herringbone tiles.
1. Grid
The most prevalent tile design that you will encounter is this one. Tiles that are stacked in a straight line are involved. There are no angles or off-setting required, and the design is really straightforward. Traditional homes frequently used grid designs.
2. Brick that is off-set
The tiles in this design are layered to give the impression of a brick wall. In offset brick, the tiles are arranged so that they begin in the center of the tile above it. Since the brick design is more traditional with a hint of refinement, I like it better than the grid pattern.
3. A Third Offset
Although there is a third offset between the tile placed on top and the one underneath, this pattern is identical to that of bricks. Typically, a third offset tile pattern produces a distinctive staggered pattern. Compared to the herringbone tile, it is far simpler to install.
4. At random
Modern dwellings are increasingly following this pattern. It involves experimenting with two or more different tile colors.
The patterns of random tiles are quite bold and recognizable. Random tiles are a little more disorganized than the herringbone design. This is something you should consider before choosing a course of action.
5. Diamond
The tiles in this design are arranged at a 45-degree inclination. As so, they have a diamond-like form.
The ability to combine diamond tiles with other designs, such as the brick or third offset, is what I adore most about them. Diamond tiles, like the herringbone, can greatly expand your areas.