Frame a Wall Step by Step
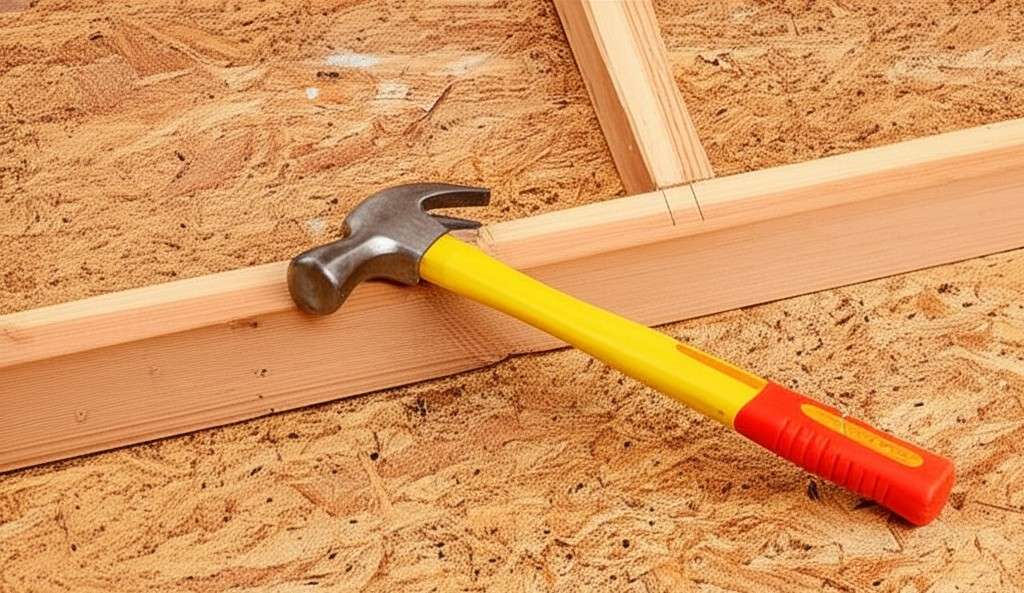
You can drastically alter the footprint of your house by mastering the fundamental skill of framing a wall, also referred to as building a basic wall. With just a framing hammer, nails, and two-by-fours, framing is an easy and affordable project. After the wall is framed, you can install drywall, windows, doors, or siding.
Fundamental Wall Elements
A framed wall is a straightforward yet adaptable design. The studs’ exact horizontal and vertical positioning is what gives the design its strength.
horizontal bottom sole plate.
A single two-by-four bottom sole plate supports the entire framed wall. This horizontal two-by-four is set down on the ground.
Pressure-treated wood is required for the bottom plate when framing a wall on concrete in order to prevent it from rotting due to moisture.
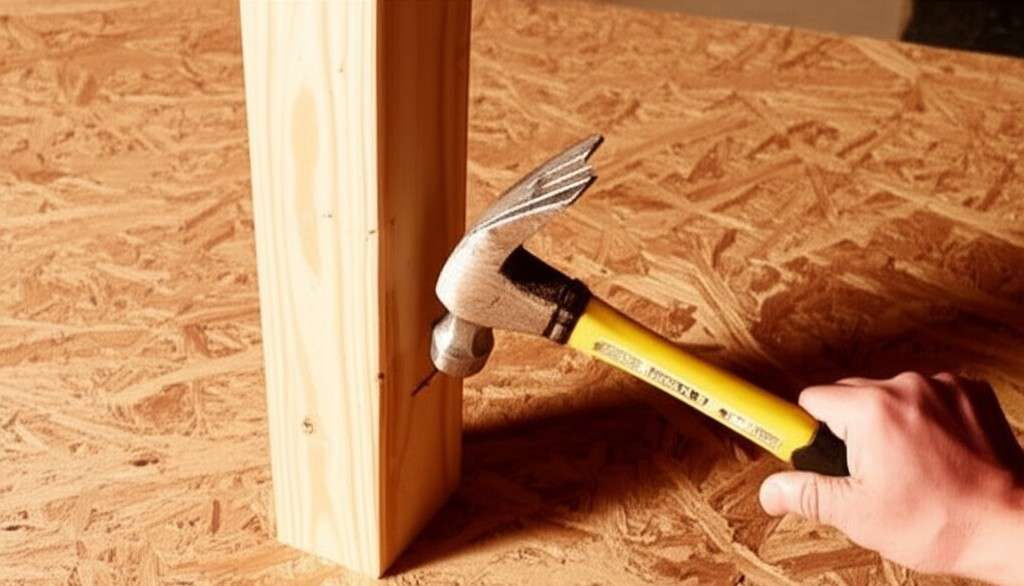
Vertical studs
Every eight feet of wall has seven vertical two-by-four studs that are perpendicular to the bottom plate. They’ll attach to the upper plates. The distance between wall studs should be 16 or 24 inches, depending on the project’s specifications and the local code. Studs should generally be 16 inches apart.
Horizontal Top Plates
Parallel to the bottom plate are two two-by-four top plates. This plate is attached to the ceiling and the tops of the vertical studs.
Tip: Eventually, sheathing (or an outer layer) of some kind will be attached to every wall frame, whether it’s OSB sheets or plywood for the exterior or drywall panels for the interior. Sheathing adds a great deal to the framing’s strength even though it isn’t technically a part of it.
Safety factors
If removing another wall is necessary to frame the wall, be sure to construct a support system before doing so. Build a temporary wall out of two-by-fours or use adjustable steel columns (also called lally columns or jack posts) with two-by-fours above and below them.
Things You’ll Need:
Tools and Equipment
- Hammer for framing
- Square Speed
- A pencil
- Line of chalk
- Is it a circular saw or an electric mitre saw?
- Nailer that is activated by powder (for concrete flooring)
- Safety goggles
Materials
- Ten eight-foot premium two-by-fours.
- 3 1/2-inch, 16-d nails

How Can a Wall Be Framed?
Step 1: Make a project plan.
A framed wall needs two top plates and one bottom plate, with vertical studs spaced 16 inches apart (or 24 inches in some situations). For larger projects, manually count the materials or use an online calculator.
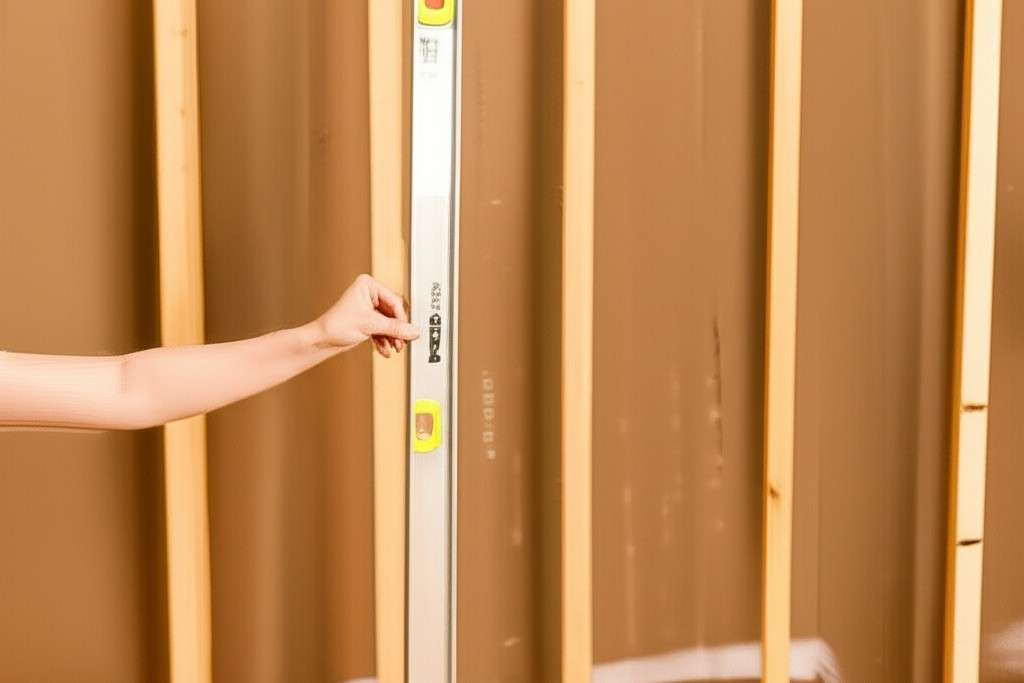
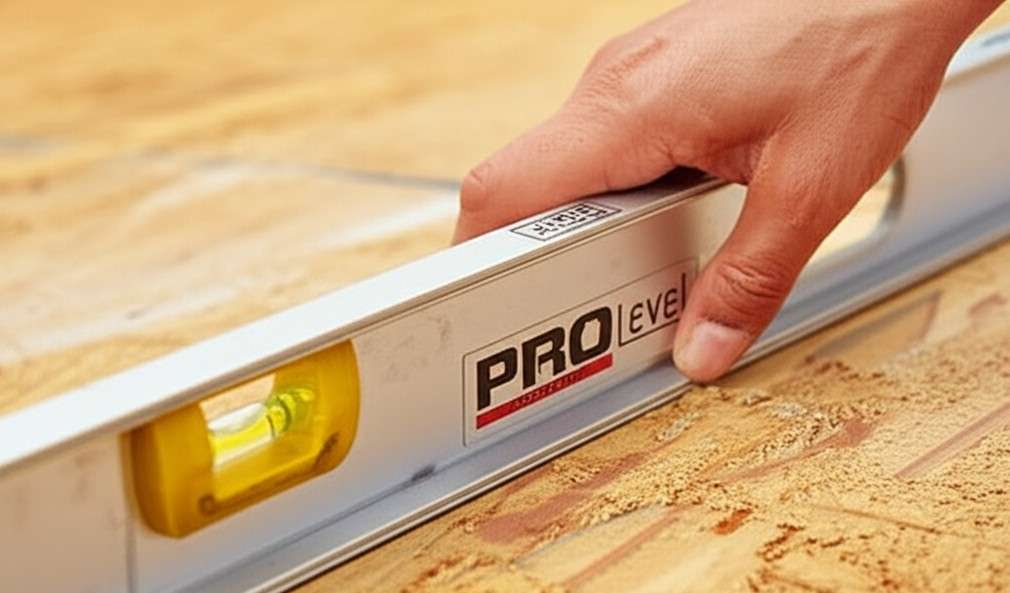
Set up a sizable section of the floor for work. The floor ought to be perfectly level. For some interior projects, you might need to frame the wall in place, but for others, you can build and install the wall after it is finished. Measure each wall stud to the precise height of where it will be placed in order to frame the wall in place if your floors or ceilings are not level.
Step 2: Plate stacking
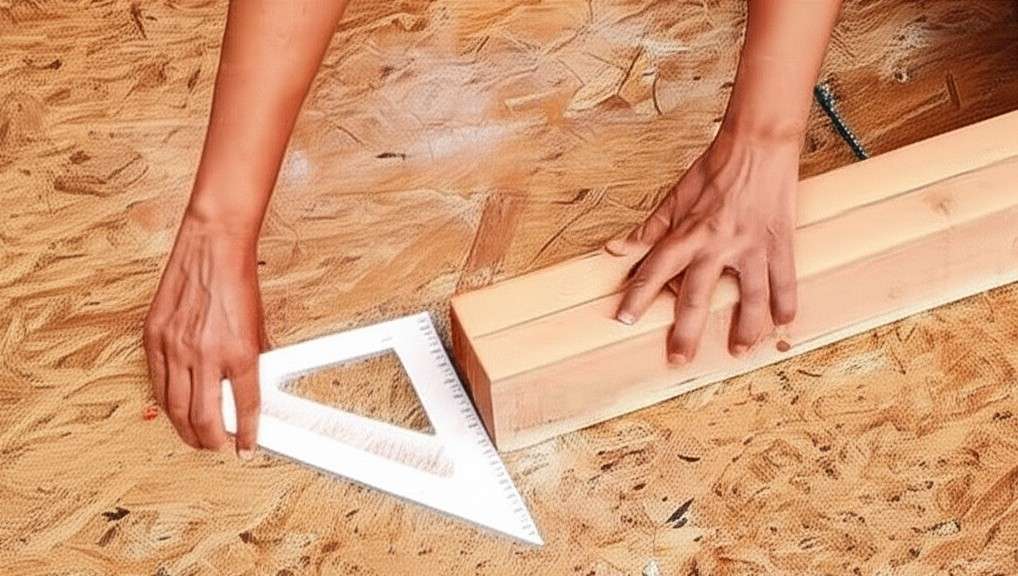
The two-by-fours you plan to use as wall plates should be chosen. Lay them side by side on their edge. Verify that the square’s ends line up precisely.
Advice: To hold the studs in place temporarily, use a bar clamp or C-clamp. Although not required, this keeps them in line and keeps them from toppling over.
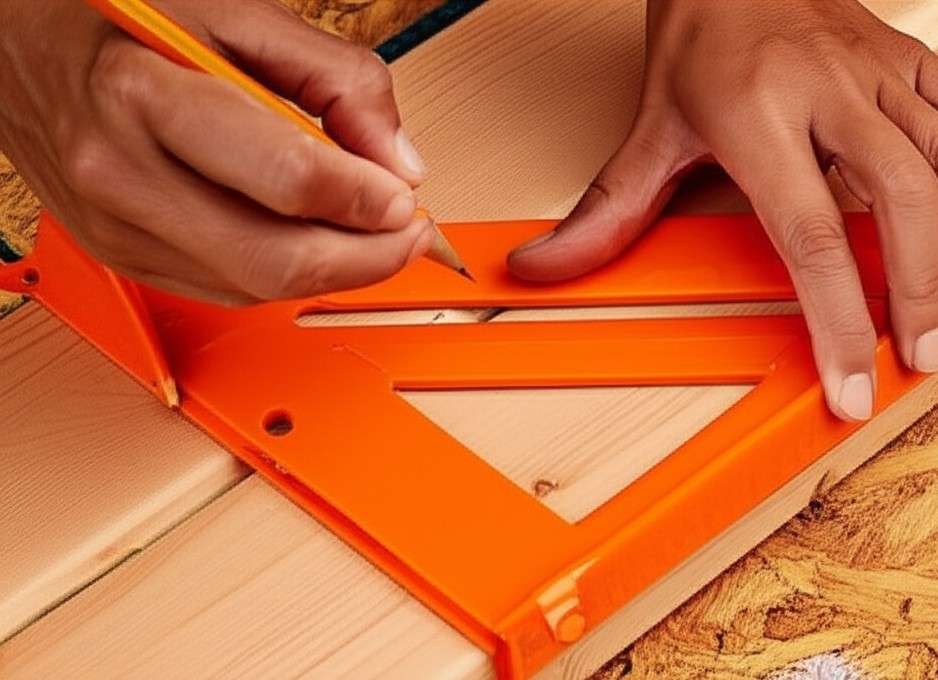
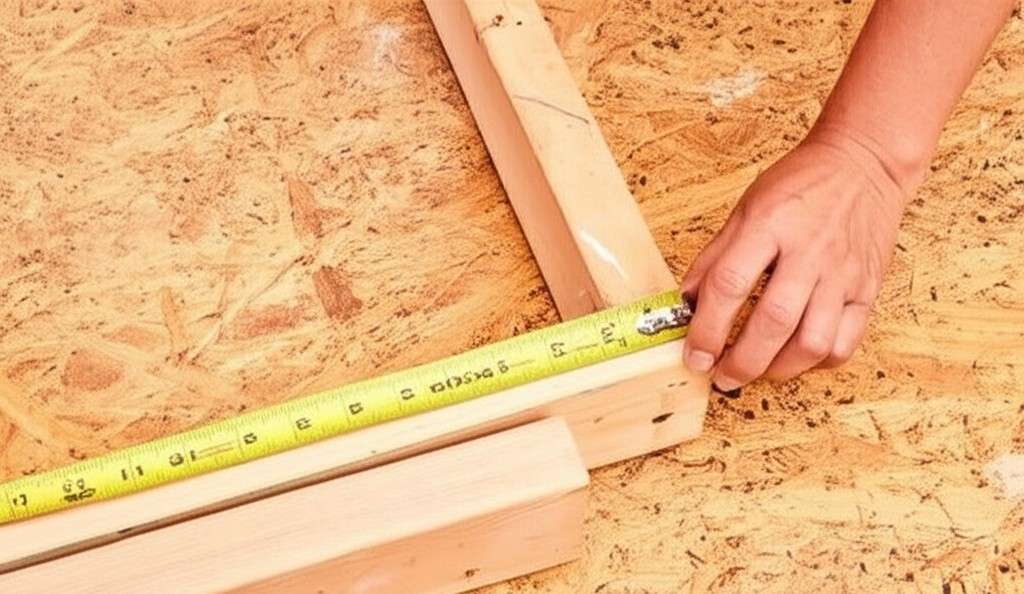
Step 3: Mark the positions of the center studs on the plates.
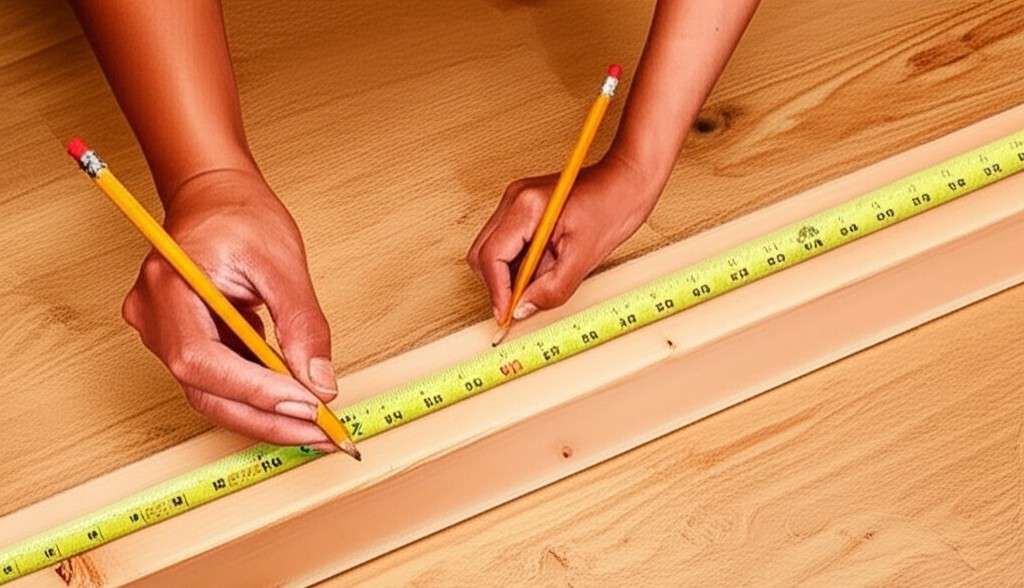
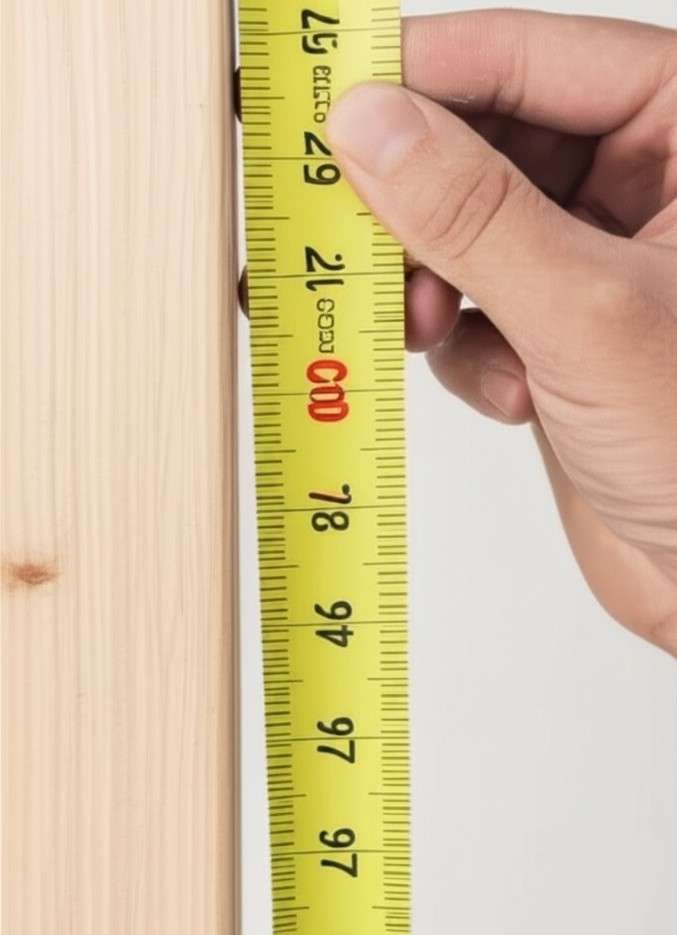
Attach the end of the tape measure to one of the plates that are stacked. Lock it in place after running the tape measure the full length of the plates. Mark each 16-inch increment on the stud with the pencil until you get to the end of the board. Run the mark over both plates with the Speed Square.
The on-center position of each vertical stud is displayed below. Keep the tape measure in place.
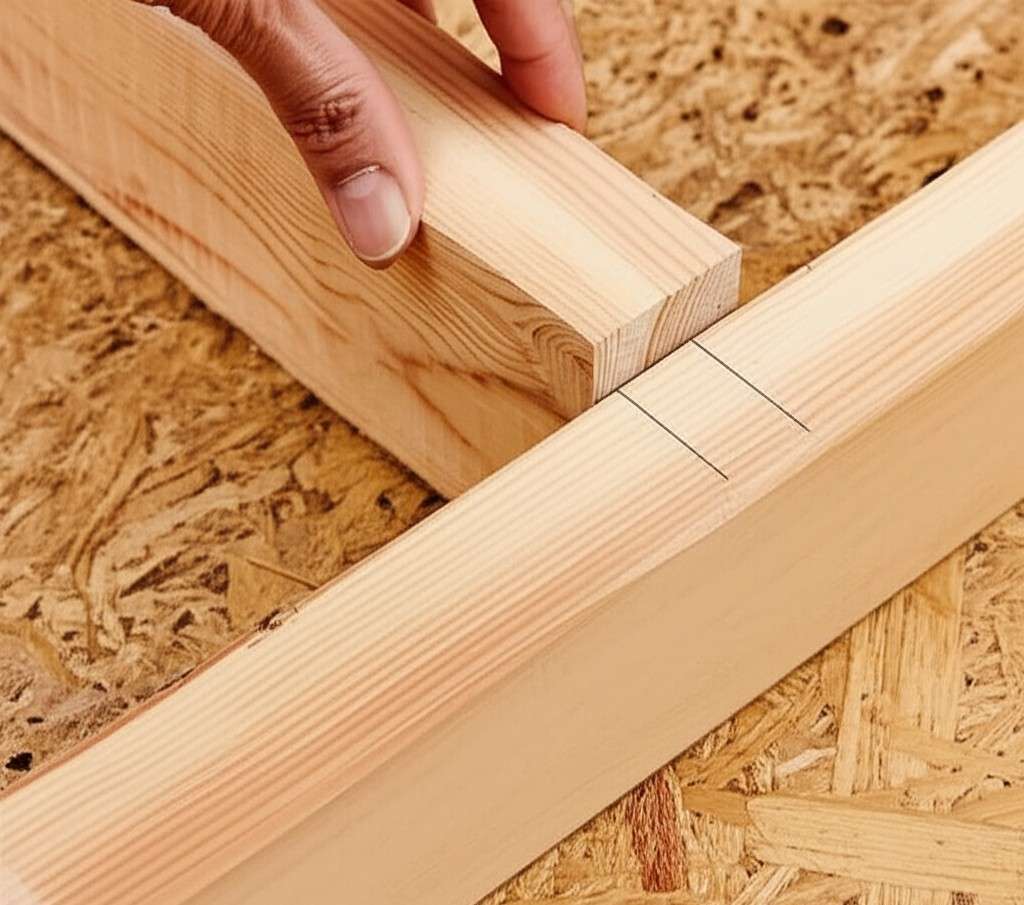
Step 4: Mark the locations of the front edge studs.
To facilitate placement, mark each vertical stud’s front edge. Mark 3/4 inch back from each of the earlier on-center marks to achieve this.
A 16-inch on-center measurement would be marked 15 1/4 inches in reverse. To prevent confusion, “X” the on-center markings but leave them in place.

- 16 inches (15 1/4 inches), 32 inches (31 1/4 inches), 48 inches (47 1/4 inches), 64 inches (63 1/4 inches), and 80 inches (79) are the measurements of the stud’s on-center front edge. 96 inches, 95 1/4 inches, and 1/4 inch.
Step 5: Keep taking measurements.
To make the two-by-fours lie flat, rotate them each by a quarter turn. Continue the edge markings across the faces using the pencil and Speed Square.
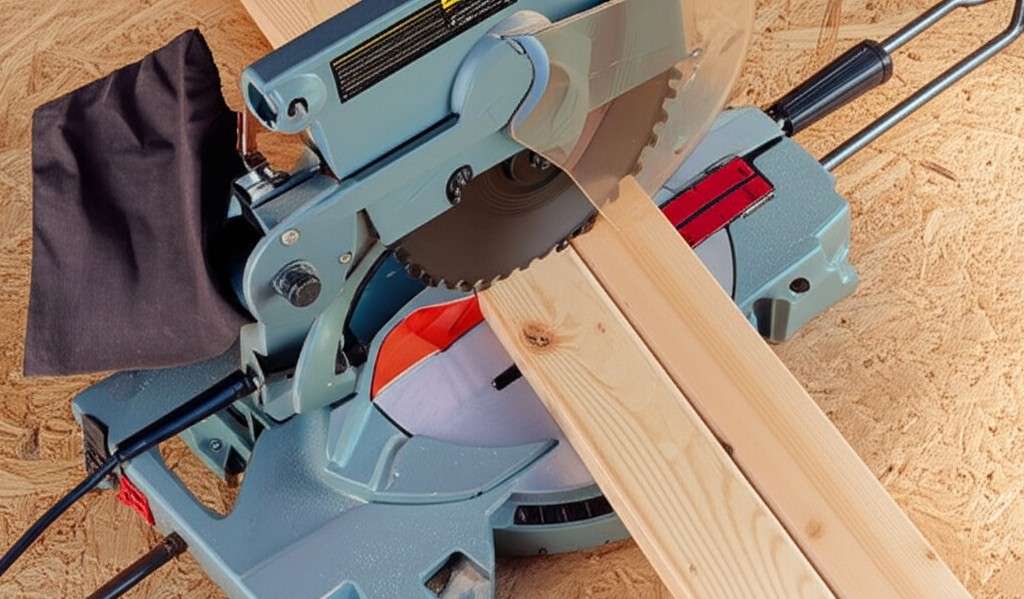
Step 6: Cut the studs.
The vertical studs should be cut with an electric saw to the required wall height less the thickness of the three plates. Cut the studs to 91 1/2 inches long (96 inches minus 4 1/2 inches) if you want your wall to be 8 feet high.
Step 7: Dry Fit the Plates and Studs.
With two by-fours on the edge, two plates on top, and one at the bottom, loosely arrange the stud wall. To determine the direction of the crown or curvature, look down each vertical stud. Each stud should be positioned with its crown facing up. A stud should be eliminated from this project if its crown is different from the others.
Step 8: Optional: Step Back Top Plate for Corners.
Put the two top plates on top of one another if this is a single wall. Move the topmost plate back if the wall will instead meet another wall that you are framing at a 90-degree angle.
The lower of the two upper plates should remain fully extended. That plate should have a plate 3 1/2 inches shorter on top of it. Therefore, the plate above the lower top plate should be 92 1/2 inches if it is 96 inches. As a result, the top of the adjacent corner wall can interlock.
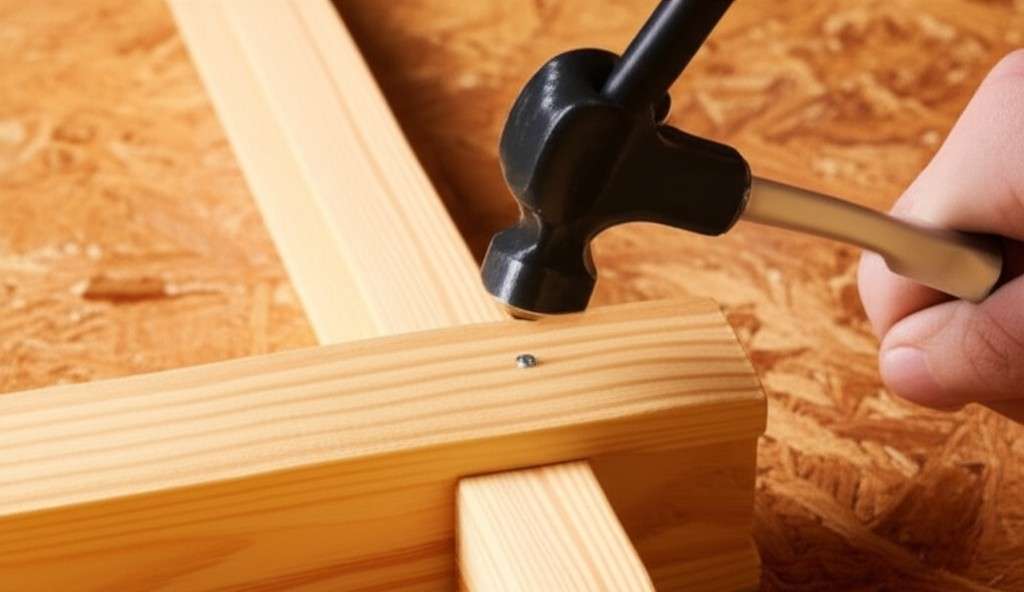
Step 9: Put everything together.
Attach the studs with two nails on each end between the top and bottom plates. Nail the top plate in place above each vertical stud location if you’re attaching it at this point.
Step 10: Raise the Wall.
The location of the wall frame should be marked with a chalk line on the floor. Place the wall frame along the chalk line, tilting it up with an assistant’s help.

Step 11: Attach the corner.
When two framed walls meet at a corner, butt them together to create a L shape. Nails should be driven down the two adjacent boards every 24 inches. Use construction ties for framing when joining two newly constructed, uninstalled walls at a corner.
Step 12: Attach to the floor.
Use two nails for each available joist to secure the wall frame to the floor through the bottom plate of wood subfloors with joists. There are no visible joists. You can find them under the subfloor. If you can, nail in between the joists.
If the floor is concrete, attach the bottom plate to it using a powder-actuated nailer.
Caution
Before nailing, look underneath wood subfloors to make sure no pipes or electrical wires will be punctured. Though it’s always a good idea to double-check, both services are typically found within easy reach and directly beneath the subfloor.
Advice for Wall Framing
- It is necessary to connect several wall units if the wall is to remain straight for a long time. If so, step it back four feet and attach the topmost plate at the end. The best way to do this is to wait until the framing is completely installed before attaching the topmost plate. Next, position full-size two-by-fours at the midpoints of each wall break.
- Measure and mark the stud locations on the plates precisely. Later sheet goods installation, such as drywall or plywood, depends on striking precisely aligned studs.
- If the wall frame is going to have windows and doors, include them in the framing process instead of after the fact. Before framing the remainder of the wall around a door or window, mark its location.
- Installing the sheathing on the wall frame while it is still flat on the ground can be helpful for small installations, like a shed. You can square the wall frame with the aid of the sheathing.
- Only nail over the studs when securing the top plates. It will be more difficult for plumbers and electricians to drill holes in the plates if you nail between studs.
- An extra two-by-four should be nailed to the back of an interior wall corner to serve as an attachment surface for the drywall edge.
Know When to Hire a Professional.
Do-it-yourselfers are best suited for small interior installations that are unable to sustain weight from above. Professional framers or carpenters are the best choice for large-scale wall framing projects, especially those involving exterior walls.
Codes and Permits
Before you can build a wall, most communities will require you to get a building permit. Wall framing might be a component of a bigger project, like turning a garage into a living area, when you check with your permitting department. On the other hand, it might be included in the general category of altering the interior space, either structurally or otherwise.
In any event, you will probably need a building permit and related inspections regardless of whether the wall you are framing is load-bearing or not (like a partition wall).
FAQ
When framing, what size nails are used?
Usually, 3 1/2-inch nails are used to frame interior walls. Look for the appropriate choice, marked 16d framing nails, at your neighborhood hardware store.
Which is better for framing: screws or nails?
Many building codes call for the use of nails for framing, and screws should not be used. Over time, nails are less likely to break.
The studs are 16 inches apart; why?
The most typical spacing between wall studs is 16 inches, though they can be as close as 24 inches. Since building materials are usually 4 or 8 feet wide, stud centers can accommodate materials like drywall with an even spacing of 16 inches.