Floating Drywall Corners

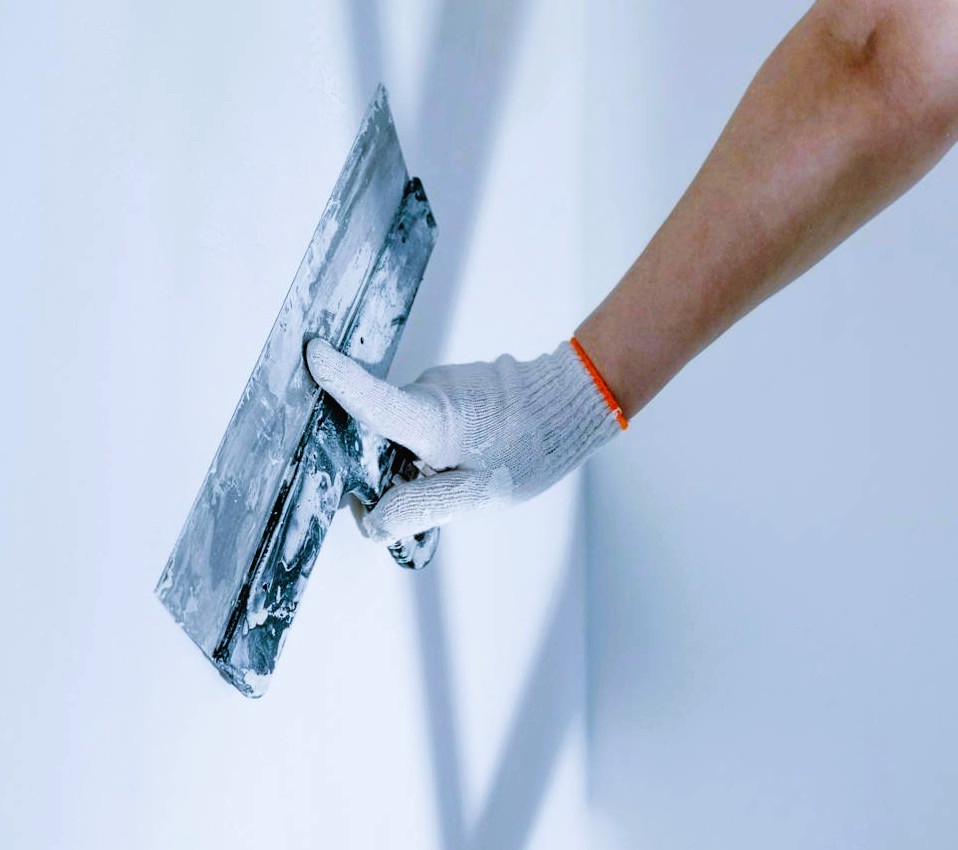
The technique of hiding drywall seams on corners using tape and a thin layer of mud is known as “floating drywall corners.”
When laying drywall, most individuals typically assume that they will only be dealing with flat seams. To get a flawless finish, you will need to tape and mud certain areas of every drywall project.
I’ll walk you through the process of floating drywall corners today. Please be aware that drywall corners might be classified as either inside or outside.
To provide you enough information on how to complete each type, I will go over both.
How Can You Stay Afloat in Drywall Corners?
The most prevalent kind is an inside drywall corner. It describes the internal angles formed by the corners of a square room where two walls meet.
The unpleasant reality is that it’s difficult to float inside drywall corners. This is due to the fact that you are working on three corners: the junction of the ceiling and two adjacent walls.
To become an expert at this procedure, you must practice. However, it is feasible.
Step 1: Collect Necessary Supplies
A pole sander, paper tape, a trowel or drywall knife, 150-grit sandpaper, and an adequate supply of drywall joint glue are required. Additionally, you should get a mask to shield yourself from the dust generated during sanding.
Step 2: Clean the inside corner
The corner is very likely to be dusty if construction is still going on. Dust the surface well to guarantee optimal adhesion between the joint compound and the seam.
Step 3: Tape the corners of the bed.
Applying bed tape over the corner should be your first step because paper tape lacks an adhesion. You could have installed it first if it had been mesh tape.
Apply some joint compound to the inside corner using your drywall knife. It should have a thickness of about 1/8 inch.
Step 4: Fold the tape and run it from the inside corner’s top to bottom.
As I said earlier, when floating an inside corner, you should use paper tape. If you’re curious as to why, it’s because paper tape is far more robust and manageable than mesh tape. Additionally, it’s easy to wrinkle paper tape in the middle.
As a result, divide your paper tape in half. Run it down after placing it on the top of the corner. Tightly pulling and pressing the paper into the bed coat is essential.
Maximum adherence is therefore guaranteed. When taping an inside corner, a professional technique is to cut the tape at an angle so that it fits the ceiling joint precisely. This is preferable to have extra tape reach the ceiling.
Step 5: Cover the tape with drywall compound.
Lightly coat the tape with compound using your drywall knife. In order to avoid shredding the paper tape, you must use very little pressure. Remember to apply drywall compound to the corners where the ceiling and tape meet.
Step 6: Apply Drywall Compound First Coat
Apply the initial layer of drywall compound to both corners the next day. Keep in mind that the coats on each side of the corner should not overlap.
You don’t have to wait until the next day if you were using hot mud. In an hour or two, you can begin to finish. However, you must wait at least 24 hours before applying a finish coat if you are using ordinary drywall compound.
Step 7: The next day, apply a second finish coat.
Before applying a second coat of drywall compound, wait another twenty-four hours. A buildup of mud on the inside corner may result from applying too many layers. When feathering, pay close attention.
Step 8: Rough Areas and Sand Bumps
After floating drywall into corners, even pros develop rough places. Sanding is the final and most crucial process because of this.
Any lumps or rough areas can be smoothed off with a pole sander and 150-grit sandpaper. Your corners should have a smooth finish as a result.
Floating Outside Drywall Corners: How Do You Do It?
The intersection of two walls that project an outward space is known as an outside drywall corner. Even though they are less often than inside corners, they can still happen occasionally, therefore you must learn how to properly float them.
Step 1: Collect Supplies
Materials that are somewhat comparable to those used to float an interior drywall corner are what you’ll need. A machine sander, drywall knife, joint compound, and 150-grit sandpaper are a few examples.
However, due to the form of this seam, you will also require a specific drywall corner adhesive and a corner bead.
Step 2: Fit the Bead to the Outside Corner First.
In contrast to an inside corner, you must use a corner bead to strengthen the structure while floating an outside drywall corner. Mud and tape alone won’t produce a strong, long-lasting finish. For this reason, a corner bead is required.
To match the outside corner’s length, measure and cut your corner bead. Use screws to fasten the corner bead to the drywall.
Step 3: Apply the drywall corner tape
Take out your special corner tape and cover the seam with it. Ensure that the corner bead is completely covered and that the tape hits the corner on all sides. From top to bottom, the tape should be used.
Step 4: Get Your Drywall Mud Ready
Combine drywall, water, and additives according per the manufacturer’s directions. Blend until a paste-like consistency is achieved.
Step 5: Cover the exterior drywall corner with the mud.
Apply drywall mud over the tape using a drywall knife, ideally an 8-inch one. A quarter of an inch should be the thickness of the mud.
You can avoid accumulation more when the mud is thinner. Using the knife, smooth off the muck and feather it outward. Be sure to apply pressure to the regions where bubbles have developed.
Step 6: After the mud dries, sand it.
After the mud dries, you should sand it because contaminants are inevitable. Light sanding is necessary to prevent tearing into the corner bead and paper.
Step 7: Apply Two Coats to the Outside Corner
The following day, feather the edges and add another thin coat. Wait a full day before adding the second and last coat. You will have successfully floated your outside drywall corners after it has dried.
How Can Drywall Corners Float Without Accumulation?
Mud accumulation is fairly common when floating drywall corners, particularly inside corners. The good news is that sanding and applying thin layers of joint compound can prevent this.
Additionally, you should be aware that the corners of the drywall are somewhat thinner, allowing for many layers of joint compound.
Mud accumulation on corner seams is not an issue unless you are using two tapes in one corner or applying really heavy coatings of mud.
Why Are Properly Floating Drywall Corners Important?
Floating drywall corners do more than just make your interiors seem nicer, despite what many people think. It also increases the stability of your walls.
Your corners will be more susceptible to damage and last less time if the seams are left exposed. After finishing the flat seams, you must float the corners of the drywall.
Additionally, you can always ask a professional drywaller for assistance if this process seems a little complicated or time-consuming.

