Why Drywall Seams Aren't Flush
Installing drywall might appear simple on paper. However, a lot of mistakes can lead to a major loss of time and money for the typical do-it-yourselfer. The drywall seams not being flush is one of the things that can go wrong very fast.
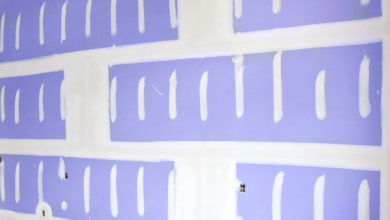
We anticipate that the seams will sit flush with the surrounding pieces when drywall is installed. However, the seams are likely to be irregular if there is an obstruction behind the drywall. When we state that the drywall joints are not flush, we mean this.
When you discover that the seams in your drywall are not flush, what should you do? Professional advice on how to handle uneven drywall seams can be found here. Before we get into that, though, let’s make a list of some typical offenders who might be to blame.
What Leads to Unflushed Drywall Seams?
In order to address the problem of uneven drywall seams, we need to determine the typical causes of this issue.
1. Installing the incorrect thickness of drywall
There are several thicknesses of drywall available for purchase. Make sure the new drywall is the same size and thickness as the old drywall if you are just replacing it in a certain section of your house.
You will end up with non-flushed seams if you make the error of purchasing drywall without a number in mind.
When purchasing and installing drywall, a lot of novices make this typical error. Don’t freak out if you purchased thicker drywall. I’ll give you tips on how to level the seams later.
2. Wall Studs That Are Not Even
The metal or wood components that comprise your wall’s framing are called wall studs. The likelihood of the drywall seams protruding more on one side than the other is very high if these studs are unequal. This is another frequent cause of non-flushing drywall seams.
The two most frequent explanations are these two. Avoiding them will spare you from having to live with this problem for the rest of your life. Let’s move on to the solutions now that you are aware of the offenders.
How Can Unflushed Drywall Seams Be Fixed?
Have you noticed that the seams are not flat with adjacent pieces when installing drywall? These methods, which have been tried and tested by experts, can solve this issue.
- Using a hammer, place a piece of wood on the drywall seam.
Sometimes all it takes to get drywall seams to sit flush is a slight prod. Some of the drywall may have problems taking an even position if you were putting it on a wall that wasn’t cut into squares or rectangles. In these situations, all you have to do is hammer the drywall into position.
because using a hammer to strike drywall directly can cause damage. To line the drywall seam with the other pieces, find a thick, flat piece of wood, set it on the edge, and hammer it in place. This should resolve your drywall problem right away.
Feeling the drywall seam’s resistance is crucial. Use the next-discussed cure if it is resisting.
- Wall Studs should be shifted.
If you have determined that the wall studs are unequal, this approach is primarily applicable. And that’s the reason why the joints on your drywall don’t sit flush.
You’ll need shims, nails, a level, and a hammer to make this work. Shimming the wall studs is done to rebuild the frame and enable even hanging of the drywall.
You must first determine the wall stud’s unevenness. Measure horizontally and vertically while holding the level in place. Observe the places on the wall studs where the leveler appears to protrude.
Trim any excess shims sticking out too much after nailing them into the afflicted regions. Use finish nails because they will be softer because they are really thin pieces of wood. You can use a utility knife to cut the shims.
The seams will sit flush without any issues if you reinstall your drywall after the walls have been shimmed.
- Fill up the uneven seams with joint compound or mud.
Although this solution might appear like the simplest way to address non-flush drywall seams, it necessitates a high level of mudding expertise.
The concept behind applying joint compound to uneven drywall seams is to use mud to conceal the imperfection and provide a smooth surface. I only advise specialists to use this procedure because of this.
You must first prepare the mud with a drill before applying joint compound to uneven drywall seams. Make sure you attain the appropriate level of consistency.
Apply joint compound to the uneven seams after loading it into a pan. Spread the mud with a drywall knife, then trim off any extra.
Before applying a second coat, let the first coat dry and give it a quick sanding. If you are unable to get a consistent finish on the uneven seams, you might also need to apply a third coat. You can prime and paint after you’re satisfied with the consistent finish.
The three most popular techniques for repairing non-fluid drywall seams are as follows. Let’s take a closer look at this problem and go over some more information you should be aware of regarding non-flush drywall seams.
When fixing this issue, does the level size of the drywall seams matter?
It certainly does. Depending on the level size difference, the best way to repair drywall seams that are not flush will vary. You can use a joint compound to hide the uneven seams if they are only a few inches apart.
The safest course of action, though, is to start over if the drywall seam is noticeably unequal with the adjacent piece.
That means removing the drywall and either evening the studs or replacing it with drywall that is the right size. There is no other way to guarantee that the drywall hangs flawlessly and that the seams are flush.
Can I Apply Mesh Tape to Non-Floush Drywall Seams?
Indeed, the tape can aid in joining the two seams. To level the uneven surfaces in between the drywall seams, you will also need to apply additional coatings of mud.
The structure of the joint compound used to join the non-flush drywall seams can be strengthened with the use of paper or mesh tape.
Is it Possible to Level Non-Floush Drywall Seams using Furring Strips?
Occasionally, the drywall seams may be distant from the wall studs. It can be difficult to evening them using shims as a result.
Furring strips are always a good option in this situation. During a building project, these thin wood strips might aid in surface leveling.
Purchase furring strips from your neighborhood hardware store and fasten them to the wall studs using screws. To ensure that the drywall sits at the proper level with the adjacent piece, make sure you screw them precisely. After you return your piece of drywall, it ought to be level.
Is Flushing Required for Drywall Seams?
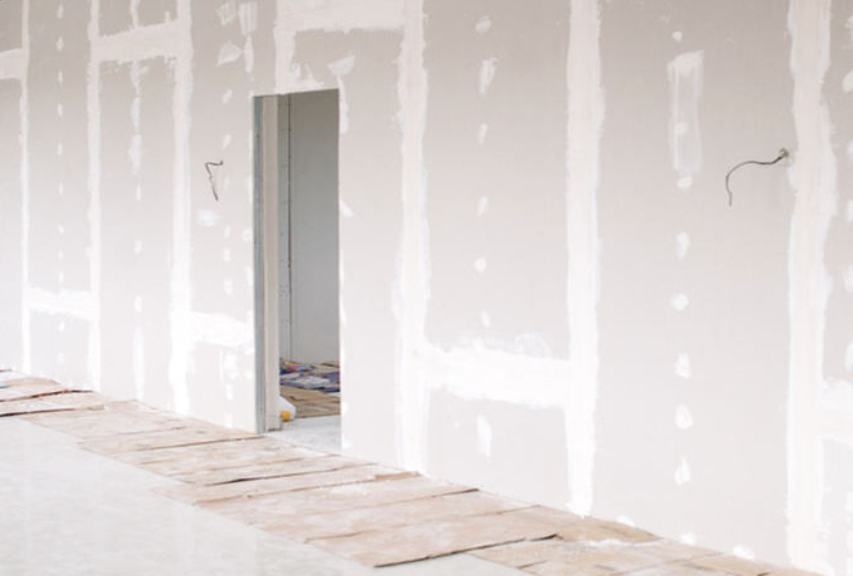
To hang and install drywall properly, the joints must be flush. Your wall will appear uneven and unsightly if the drywall seams are not flush.
Make sure the drywall joints are flush if you want your walls to have a polished appearance. Additionally, you may always use the previously described methods to fix them if they aren’t.